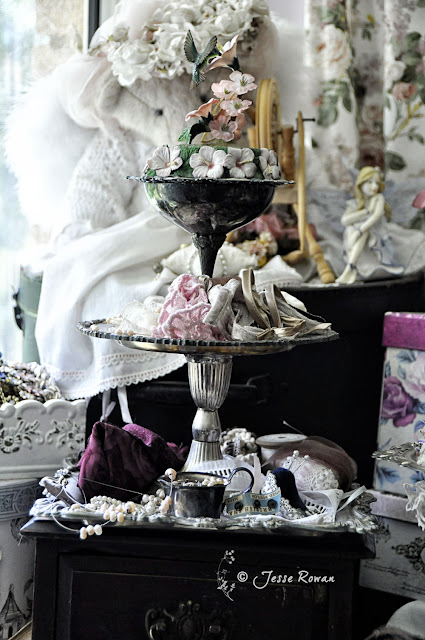
Hello friends, and welcome new visitors. Today I'm going to show you what I've been doing with my silverware collection. For years I've eyed off pieces of out-of-fshion silverware in op shops and garage sales, and collected a few at the right price. I had an idea in mind to find some that would go together in tiers, with the right shape or patterns that would harmonise, even though they are odd pieces.
I thought I'd have a go at a tutorial, even though the photos I took using my tablet were not the best quality. I had to rush before the 'goop' went off.
You'll need:
Plastibond, about a 1.7kg tin
Old plastic container to mix it in - take-away food containers are great.
1-2 Paddlepop sticks to mix with
An old spoon to spoon the 'goop'
Newspaper to cover your work area
An assortment of metal candle sticks, goblets, and trays , plates and bowls of various shapes and sizes.
Step 1
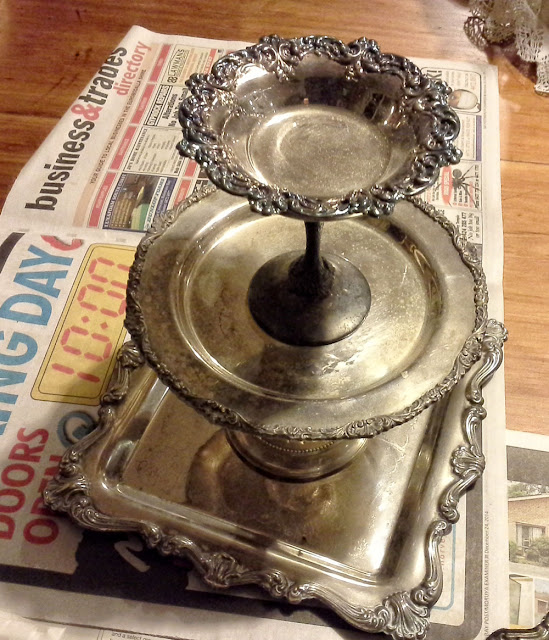
Assemble your collection of silverware and work out which ones might go together. I found tiers of two or three work best, getting smaller as you go upwards. Audition various combinations until you are happy.
Step 2
Lay out newspaper to protect your workspace.
Mix up some plastibond ( the goop) using a paddlepop stick or old spoon in a plastic container to be thrown out at the end. Follow the directions for proportions. Work quickly once it is mixed as it goes off and hardens after some minutes. Mix up small batches rather than one huge batch.
Fill any hollow goblets or candlestick bases to give a greater glue surface to stick to the next item. Once full of goop, make it as flat as possible using the paddlepop stick.
For large flat trays it is easier to work with them face down while you use the goop to glue the next tier in place. Clean up carefully while it's still wet or you will have a difficult sanding job ahead of you! Check that it's centred and flat before leaving it to harden while you work on another layer.
Once hardened, test for adhesion. Add another layer of goop if it comes apart, cleaning any spilt goop carefully before it hardens.
Step 3
Use the goop to glue the layers together, checking positioning until you are happy, then leave it to harden. I left the filled goblets overnight to harden.
Step 4
Find special things to display in your new tiers. Have fun! Treat them gently, nothing too heavy, and carry them at the bottom, supporting layers if you can. Here's one with doilies, just a single square tray on a candlestick:
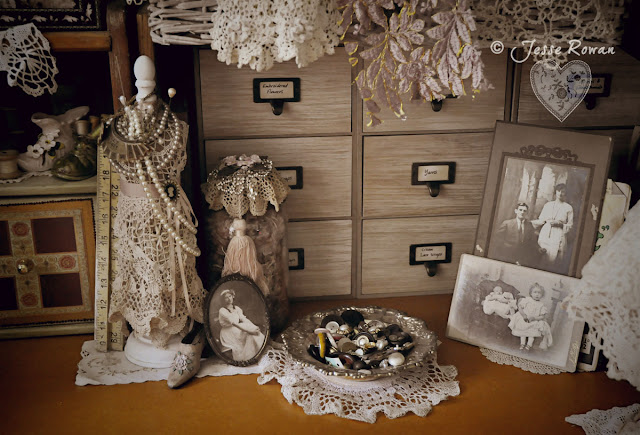
Here's a three-tiered tray,plate and bowl set I filled with buttons, ornaments, old jewellery and sewing notions:
This one is just a goblet in a bowl:
If you have any questions, leave a comment and I'll do my best to help you. Have fun creating :)
Life has been spinning for me, and the weeks are flying by.
Our folk band, Ballyhooley, has been away performing in Australia's National Folk Festival in Canberra. We did three completely different 40 minute concerts over Easter:
I designed this banner for each side of the stage. It's my favourite local beach (McKenzies Beach). I rose early one morning to take photos before anyone else came to swim.
I'm linking up to Wen's Simply Neutrals Party #21. You can go to AppleApricot to see all the gorgeous neutral beauty on display through her linky party.

